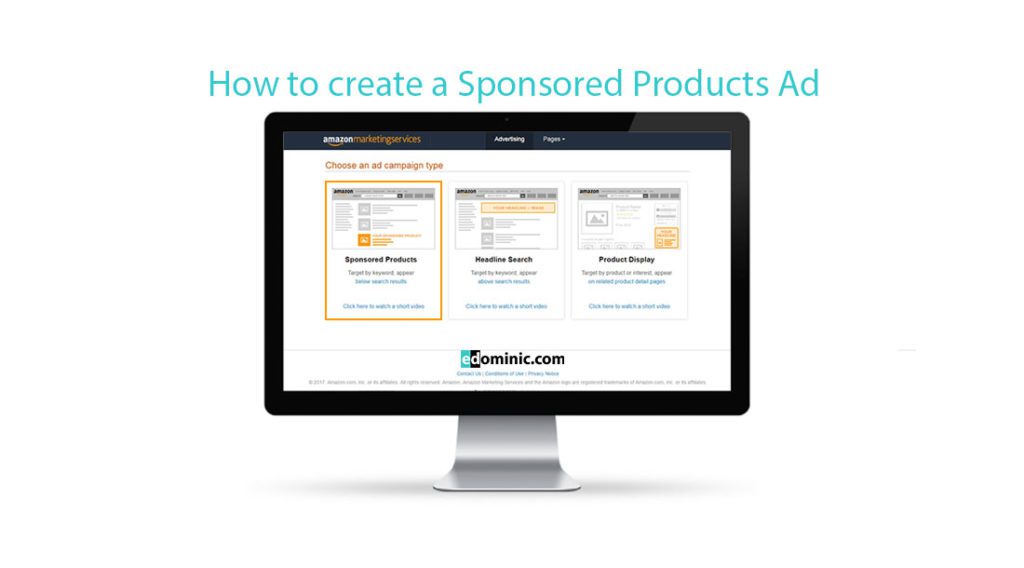
In this article we will look at the five steps involved in creating Sponsored Products Ads. Keep in mind that you cannot jump over these steps, so you’ll need to do everything in order. The system won’t show you the next step unless you have completed the previous one.
Step 1 – Choose products to advertise
Add the products that you wish to promote by entering the name of the products in the search box (you can also use the ASIN(s)).
You will need to add at least one product in order to be able to move to the next step. If some products have the status Ineligible next to them, it means hat you won’t be able to promote them in AMS, until you solve the issue with Amazon (a reason products for products being ineligible is losing the buy box).
If you are searching directly for ASINs, you can use a shortcut and click on Add all on this page.
Step 2 – Choose your campaign settings
Campaign name – make sure that you enter something that you will be able to recognise easily. Keep in mind that you won’t be able to change this after you submit the campaign.
Average daily budget – for SPA, you can only set daily budgets (HSA and PDA allow to select between a daily budget and a campaign budget).
Duration – Run campaign continuously from today means that the campaign will start running from the moment you submit it, with no specific end date.
Select date range – this allows you to select a start and an end date for the campaign. For example, if you wish to run a campaign only for a week starting in a couple of days, you can set the dates and submit the campaign. It will only start delivering impressions on the start date that you have entered.
If you haven’t set an end date for the campaign, you can still do it after it started running.
Step 3 – Select a targeting type
Automatic targeting – “Amazon will target highly relevant customer searches based on your product information”. You can then use the reports to see what keywords triggered your ads and analyse their performances.
If you select automatic targeting, you’ll only need to add a single CPC/bid and launch the campaign.
Manual targeting – If you select this setting, Amazon will target only the users that are searching for the search queries that you entered in the system. You can set up different match types for your keywords. See below at step 4.
Step 4 – Add keywords and bids
Add suggested keywords – use this if you consider the recommended keywords from Amazon to be important for your campaign.
Upload a spreadsheet with keywords – this allows you to submit a full list of keywords to your campaign. You can set the match type and the bids for each individual keyword in the list.
Add your own keywords – use this function to add the variations of the search terms that you believe that your target will be using. Add one keyword/search query per line – no other punctuation signs needed.
Set the Match type. For SPA, you have to possibility to set keywords as “Broad” match, “Phrase” match, “Exact” match, “Negative Phrase” and “Negative Exact”.
I recommend you also use the “Negative Phrase” and “Negative Exact” match types to prevent your ad from appearing for irrelevant search queries.
Set your bid for each keyword and click “Add”. If you add multiple keywords at the same time, the match type and the bid will be the same for all of those keywords. Recommended reading: Sponsored Products Ads Now Allow Bids Of 1,000 EUR Or Pounds On AMS
Step 5 – Save as draft or Launch the campaign
After you have added at least 1 keyword to the campaign, you will be able to save the campaign as a draft, or launch it immediately.
You might want to verify the campaign before launching it. After it starts running, there are very little changes that you can make to it. Also, keep in mind that SPA are approved automatically, so minutes after you have submitted the campaign, you should start seeing it running (unless you have set the campaign to start at a later date).
Important to know: If after you save a campaign as a draft and returning to it you cannot see any data anymore, it means that your ASINs have been removed for some reason (i.e. they have become ineligible to advertise in AMS). Add them back and you’ll be able to see all the other settings again: the name of the campaign, the campaign settings, the keywords, etc.
Read also:


Pingback: How to create Headline Search Ads (HSA) on AMS - AmazonPPC
Pingback: How to create Product Display Ads (PDA) on AMS - AmazonPPC
Pingback: AMS or AMG – which Amazon marketing platform to use? - AmazonPPC
Pingback: Top 10 tips to prepare your AMS campaigns for Q4 and the winter sales - AmazonPPC
Pingback: How to create Product Display Ads (PDA) on AMS | Amazonppc
Pingback: The Amazon Advertising Holiday Guide for 2018 - AmazonPPC
Pingback: When is Amazon Prime Day 2018 and how to prepare your AMS campaigns for it - AmazonPPC
Pingback: How to optimise your AMS campaigns for the Easter Sale Season - AmazonPPC
Pingback: Key benefits of Portfolios in the Amazon Advertising Console - AmazonPPC
Pingback: AMS or AMG – which Amazon marketing platform to use? - eDominic