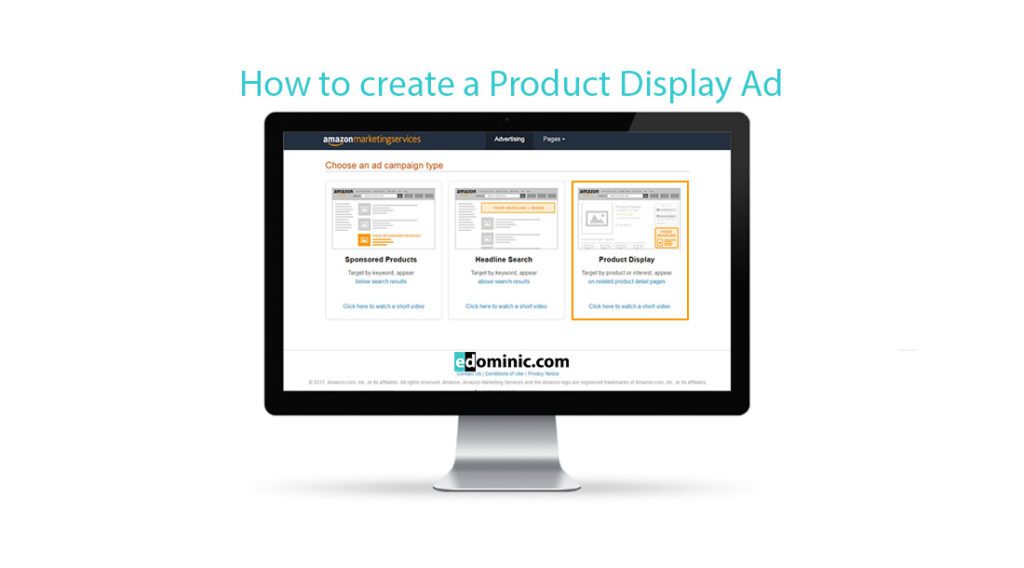
Step 1 – Choose a targeting method
Product – if you select this targeting method, you will be able to manually select what product pages to target (for example, you may want to target your competitors’ products). You can also decide to target your own products – do this if you are promoting a complimentary product (e.g. promoting lenses on a camera product page).
or
Interest – this will set the targeting automatically based on the interests of the shoppers. Usually, this setting is not highly performant from the point of view of sales and profit (it works better for brand awareness).
If your objective is sales, I recommend you use the “Product” targeting method – you will need to do a proper research on the products that you want to target.
Step 2 – Choose a product to advertise
No matter the decision that you took at the previous stage, in this step, you will need to select the product that you want to promote with your campaign. Keep in mind that you can only advertise 1 single product with a PDA.
Enter the name of the product in the search box (you can also use its ASIN) and select it for the campaign.
Step 3 – Choose the targeting method for your campaign
This is a second stage for the targeting selection. You can opt for targeting other products directly, or you can again go for an automatic setting and target shoppers based on the Categories that they are browsing. As mentioned before, if your objective is sales, I recommend going with a manual targeting method (product targeting).
Target by product: In the search box, enter the products where you wish your ad to appear, and add them to the campaign.
Once again, you will have the possibility to set your targeting broader or narrower by ticking the box for “Expand targeting to other closely related products (recommended)”.
Important to know: You cannot target the product page of the product that you are promoting.
Target by category – this is an automatic type of targeting that allows you to target full categories of products from Amazon (only related categories to the product promoted will be available to target).
Step 4 – Choose your campaign settings
Campaign name – make this easily recognisable (especially if you are running a large number of campaigns), as you won’t be able to change it after you submitted the campaign.
Enter the amount that you are willing to pay for each click (the Cost-per-Click – CPC). This will be the only bid that you need to set, as with PDAs you don’t bid for keywords as you do with SP and HS campaigns.
Enter the budget
As with HSA, Product Display Ads allow you to set either a daily budget, or a campaign budget.
If you set a daily budget, you can then proceed to select the date ranges of the campaigns.
If you set a campaign budget, you can also decide on the start and the end date of the campaigns, but you are also given another feature: set the campaign to deliver as quickly as possible, or set the campaign to deliver evenly. There are advantages and disadvantages to each one of these features.
Step 5 – Create your ad
Enter a compelling ad copy. For this type of ads, the maximum number of characters that you can use is 50. Make sure that your headline follows Amazon’s guidelines, otherwise your ad will be rejected.
Enter your Brand name – this will show on your ad as “Sponsored by [brand name]”.
Product description – you can add as many characters as you wish in the product description, but only a few characters are going to be visible. On some formats, this isn’t going to be visible at all. Make sure that the first words describe your product and motivates them to click on your ad.
Add a Brand logo – this will appear next to your product.
Step 6 – Preview your ad
You now have the possibility to preview your product display ad in all of its formats: see 9 different versions of your ad. Unfortunately, you cannot decide which one of these sizes to appear on the product pages, but you can influence it with the budget and the bid that you’ve added (a higher budget and a higher CPC makes it more likely that your ad will get a more predominant space on the product page).
Step 7 – Save as draft or Submit campaign
If you have completed all the above steps, you will notice that “Save as draft” and “Submit campaign” are both clickable.
I advise you to verify the campaign before launching it, as after it starts running, there are very little changes that you can make to it. Also, keep in mind that PDAs are firstly reviewed by an Amazon team, so your ad might be rejected if you haven’t followed their guidelines.
Important to know: if you have unticked the box for “Expand targeting to other closely related products (recommended)” (Step 3)> you saved the campaign as a draft> opened it again and made any modifications to the campaign> the feature gets ticked back automatically. Make sure you verify this right before launching the campaign.
Read also:
Pingback: How to create Headline Search Ads (HSA) on AMS - AmazonPPC
Pingback: How to create Sponsored Products Ads (SPA) on AMS - AmazonPPC
Pingback: Top 10 tips to prepare your AMS campaigns for Q4 and the winter sales - AmazonPPC
Pingback: What is/was run campaign as quickly as possible? | Amazonppc
Pingback: The Amazon Advertising Holiday Guide for 2018 - AmazonPPC
Pingback: Run campaign as quickly as possible or spread campaign evenly – which feature to choose in AMS campaigns - AmazonPPC
Pingback: The most valuable reports from the Amazon Advertising Console (AMS) - AmazonPPC
Pingback: The complete guide on how to optimise AMS campaigns – Best practices - eDominic
Pingback: When is Amazon Prime Day 2018 and how to prepare your AMS campaigns for it - eDominic